Most advice on Tanzania Safari Photography is written by people who have read about it. The bush teaches you different lessons. You’ll be in a vehicle with five other people, the lion you waited 40 minutes for will yawn the second you look at your settings, and the dust will find its way into every gap in your bag. None of that should put you off. It just means the photos you come home with depend less on how expensive your camera is and more on a few habits you can learn before you land.
These are the tips our guides repeat on almost every game drive. They work whether you’re carrying a full-frame camera and a long lens or just your phone.
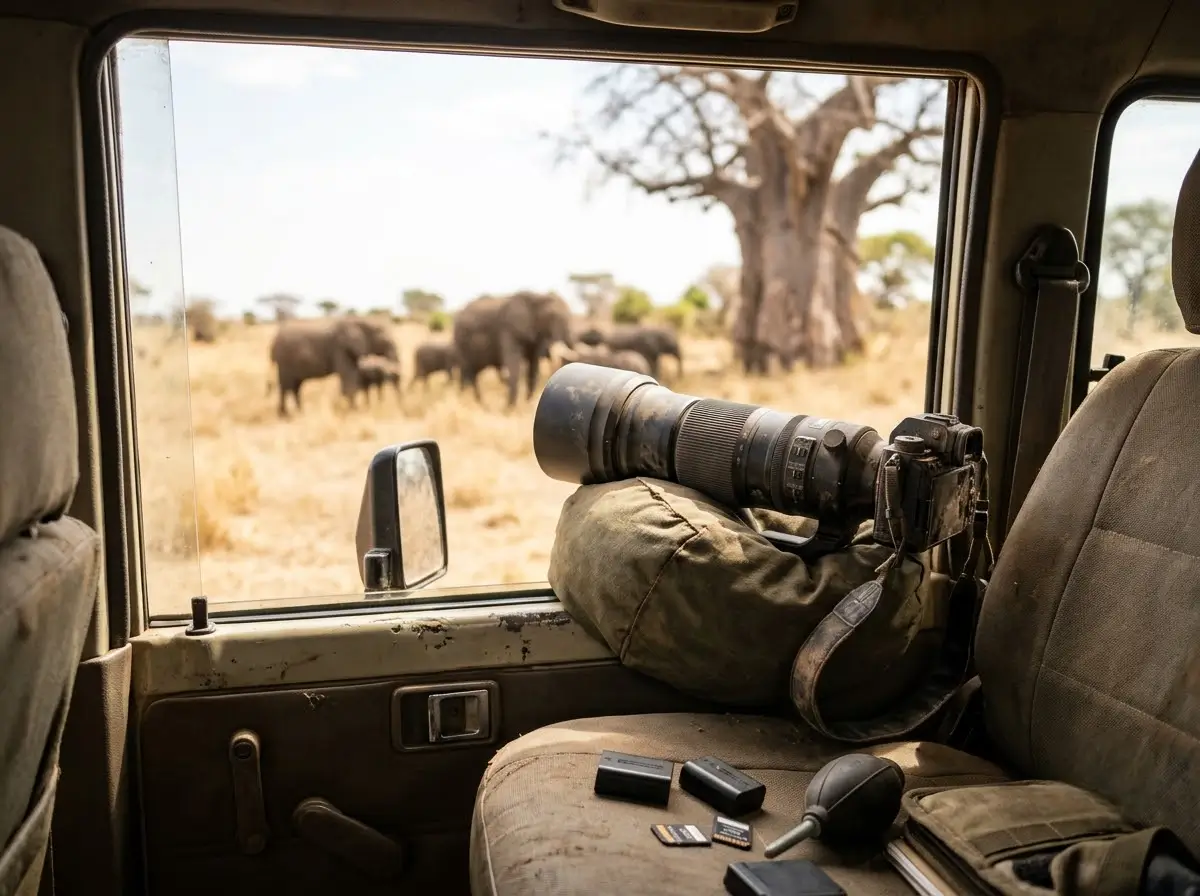
Your Safari Vehicle Is Your Tripod
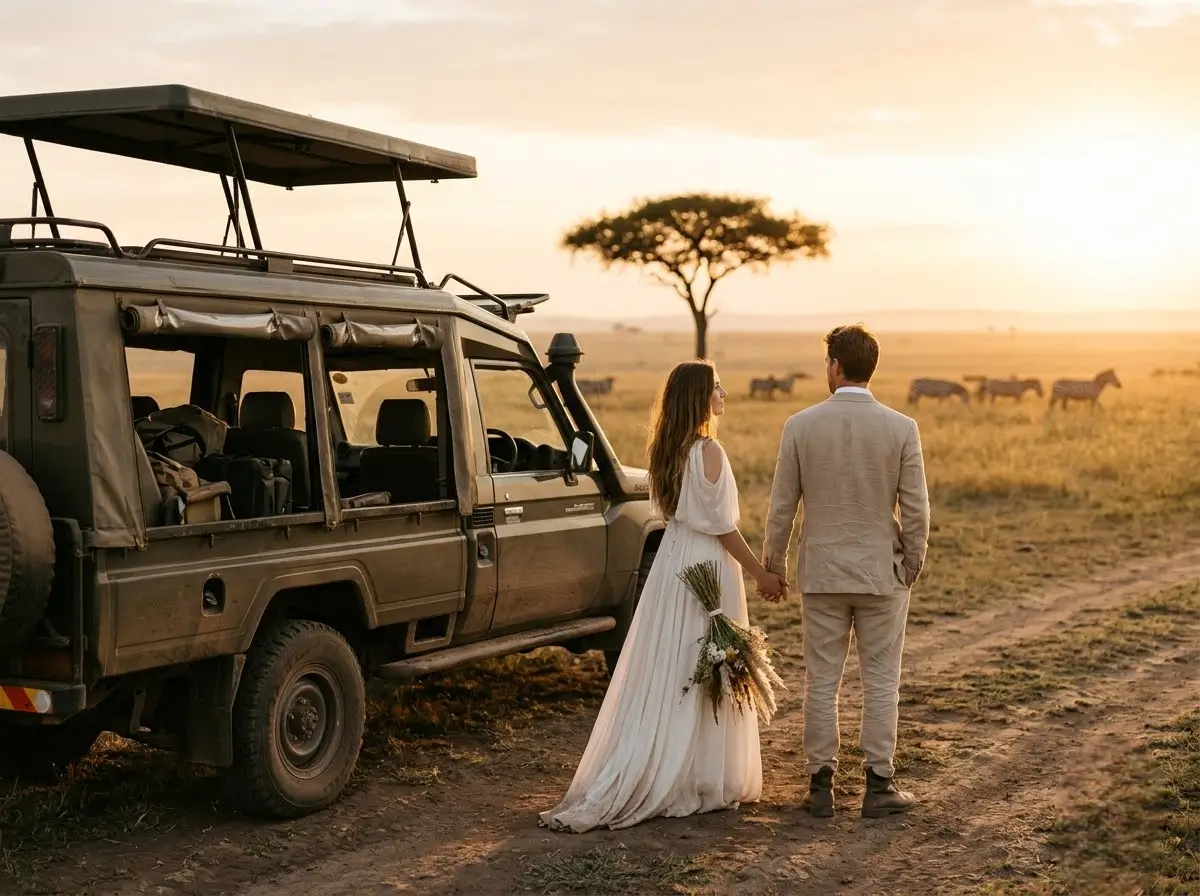
You will shoot almost everything from inside the vehicle. In the national parks you can’t step out except at marked picnic sites and viewpoints, so forget the tripod. It takes up space and you won’t be able to set it up anyway.
- Bring a beanbag. Rest it on the window frame or the roof hatch edge and lay your lens on it. You can buy one empty and fill it with rice or beans once you arrive.
- Ask your guide to switch the engine off when you’re shooting. Even an idling engine sends a small vibration through a long lens.
- Agree on a quiet signal with the people in your vehicle. When someone shifts their weight on a pop-up roof, everybody’s shot shakes.
- Shoot from the window as well as the roof. A lower angle often puts you closer to eye level with the animal, and the photo feels more intimate because of it.
Gear Worth Packing (and Gear That Isn’t)
The single biggest upgrade for wildlife is focal length. Animals don’t come to you, and you can’t walk up to them. A zoom that reaches somewhere between 300mm and 600mm covers most situations on a northern circuit safari. A second body or a wide lens is nice for landscapes and camp life, but it isn’t essential.
Here’s how the common setups compare once you’re actually on a game drive:
| Setup | Best For | Where It Struggles | Who It Suits |
|---|---|---|---|
| Smartphone | Landscapes, camp scenes, close sightings, video clips | Distant animals, birds, low light at dawn and dusk | Families and travellers who want memories, not portfolios |
| Bridge camera (long built-in zoom) | Reach without changing lenses, good in dusty conditions | Noise in low light, slower autofocus on fast action | First-timers who want more zoom without heavy kit |
| Camera + 70-300mm lens | Large animals, Ngorongoro Crater floor, elephants in Tarangire | Small birds and shy cats at a distance | Keen hobbyists on a budget |
| Camera + 100-400mm or 150-600mm lens | Predators, birds, river crossings, tight portraits | Weight, and it’s too long for animals right beside the vehicle | Serious photographers and anyone chasing the migration |
| Wide angle (16-35mm) as a second lens | Sky, plains, crater rim views, animals in their habitat | Almost useless for wildlife on its own | Anyone with a second body or a phone as backup |
A few small things earn their place in your bag too: at least three spare batteries, more memory cards than you think you’ll need, a blower and microfibre cloths, and a soft dust cover or a pillowcase to wrap the camera in between sightings. Leave the heavy hard case at home. Most light aircraft transfers have soft bag limits of around 15kg.
Camera Settings That Hold Up on a Game Drive
Things happen fast. A cheetah that has been lying flat for an hour will stand up and sprint with no warning. Set your camera up before you leave camp so you only have to adjust one or two things when it counts.
- Use shutter priority or manual with auto ISO. Keep your shutter at 1/1000s or faster for moving animals and 1/2000s or faster for birds in flight.
- For a sleeping lion or a grazing buffalo, you can drop to around 1/250s and lower your ISO for a cleaner file.
- Switch to continuous autofocus and burst mode. You’ll delete a lot, but you’ll also catch the frame where the eye is sharp and the ears are forward.
- Focus on the eye. If your camera has animal eye detection, turn it on. It makes a real difference through grass and branches.
- Shoot RAW if your camera allows it. Harsh light and deep shadows are common, and RAW files give you room to fix them later.
Light Is Everything: Work the First and Last Two Hours
The best light on safari arrives early and leaves early. From sunrise to around 9am, and again from about 4pm until the park gates close, the sun sits low and warm. Animals are also more active at these times, which is a happy coincidence. By midday the light turns flat and harsh, and most animals are asleep in the shade.
If you only remember one thing, say yes to the early morning drive. It’s cold, it’s dark, and the coffee is never quite strong enough. It’s also when you’re most likely to find predators on the move with soft golden light behind them.
Use the midday break for backing up your cards, charging batteries and cleaning your sensor. Most camps have charging points, and many safari vehicles have inverter or USB outlets, though it’s smart to ask before you go.
Dust, Heat and Batteries
The dry season (June to October) is the best time for game viewing in northern Tanzania, and also the dustiest. Change lenses inside the vehicle with your back to the wind, or better still, avoid changing lenses during a drive at all. Keep your camera covered on bumpy roads. A blower at the end of each day saves a lot of trouble later.
Heat drains batteries faster than you expect, especially if you use the rear screen a lot. Keep spares in a shaded pocket of your bag rather than on the dashboard in direct sun.
Composition: Moving Past the “Animal in the Middle” Shot
Your first hundred photos will probably be animals dead centre in the frame. That’s fine. Once the excitement settles, try a few of these:
- Leave space in the direction the animal is looking or walking. It gives the photo a sense of movement.
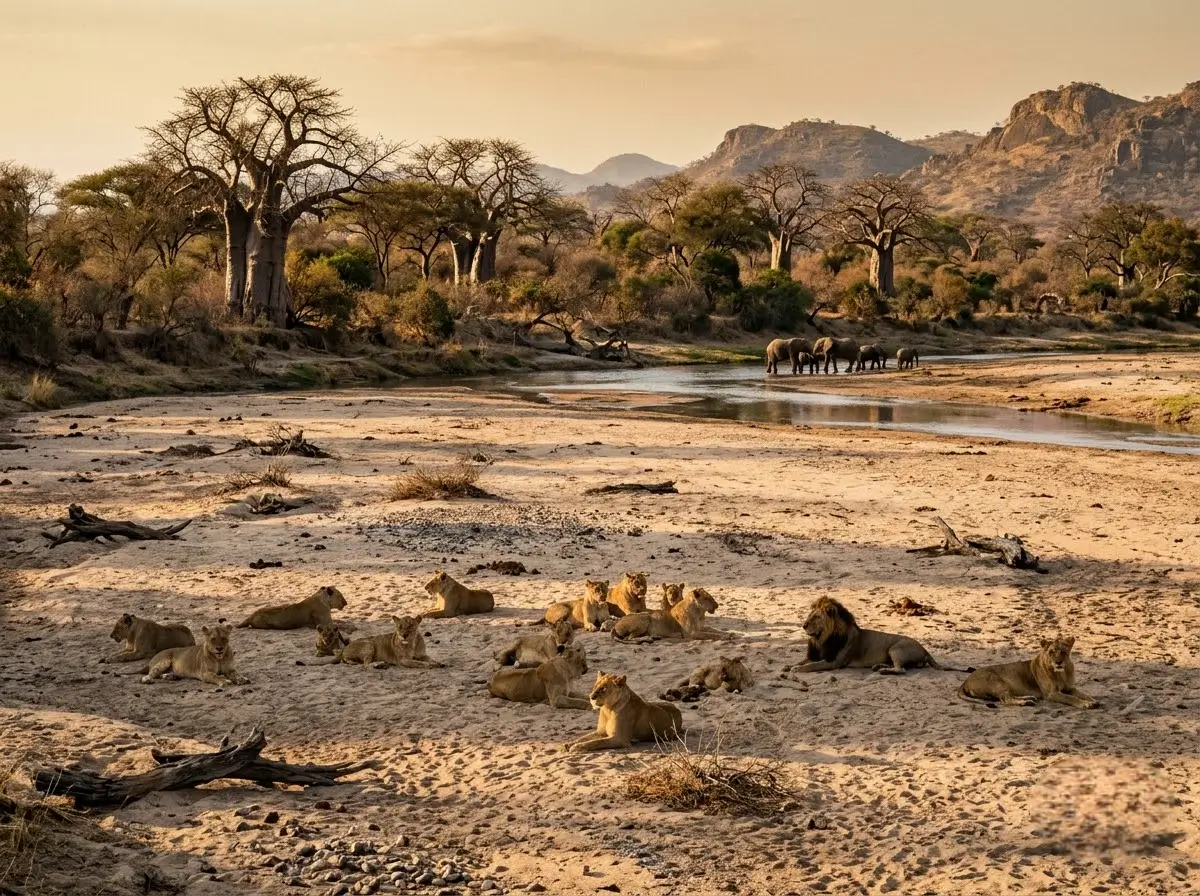
- Pull back and show the place. An elephant beside a baobab in Tarangire tells a bigger story than a tight crop of its face.
- Watch behaviour, not just the animal. Cubs playing, a lioness yawning, two giraffes necking. These are the shots people remember.
- Keep the horizon straight. It sounds basic, but on a moving vehicle it’s the most common mistake.
- Put the camera down sometimes. Some of the best sightings are better watched than photographed, and your guide will often know what’s about to happen next.
Photography Etiquette in the Parks
Good wildlife photos never come at the animal’s expense. Your guide will keep a respectful distance and stay on permitted tracks, so please don’t push them to drive closer or go off-road where it isn’t allowed. Flash photography stresses animals, especially at night, so keep it switched off.
Drones are not permitted in Tanzania’s national parks without special permission, which is difficult to obtain for visitors. Leave yours at home or plan to use it only outside protected areas with the correct permits.
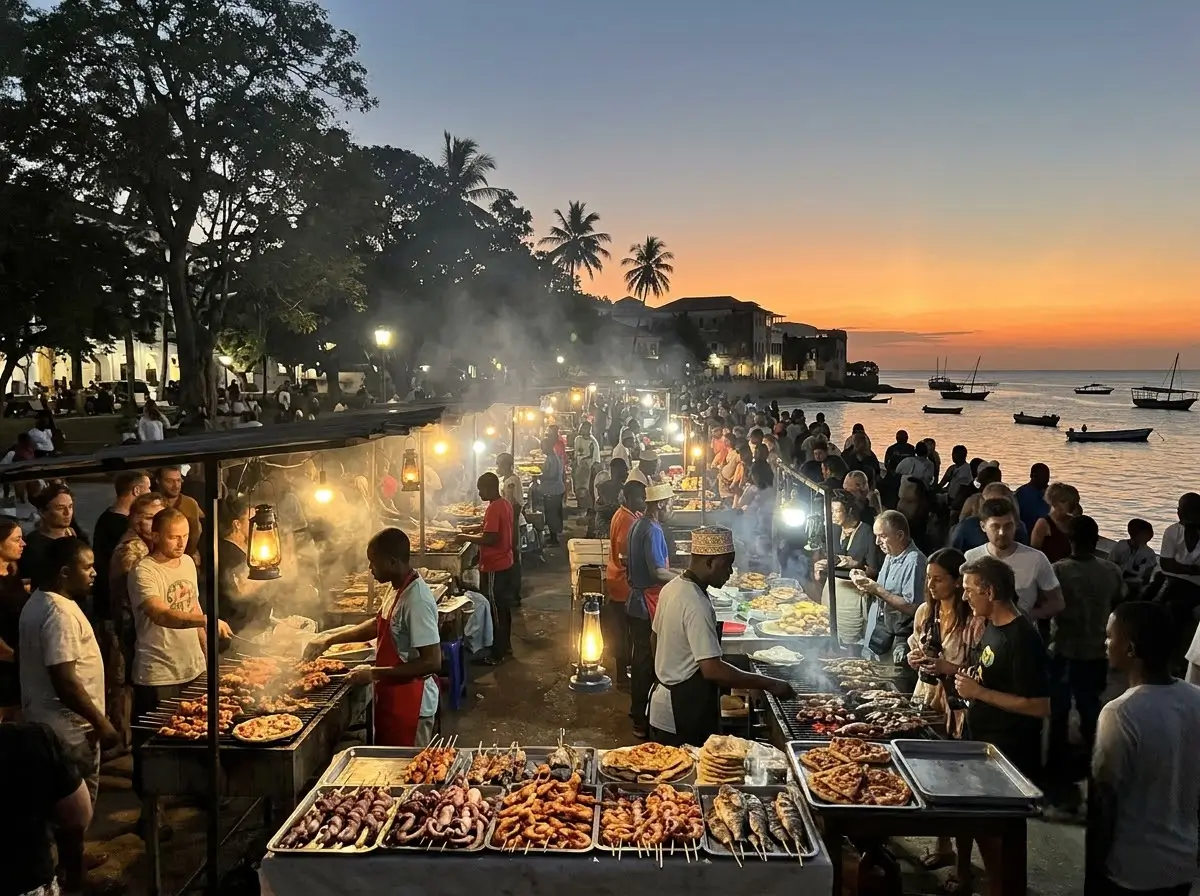
When photographing people, including Maasai communities you may visit, always ask first. In many villages a small fee is expected for photos, and your guide can help you handle this politely.
Where to Point Your Camera in Tanzania
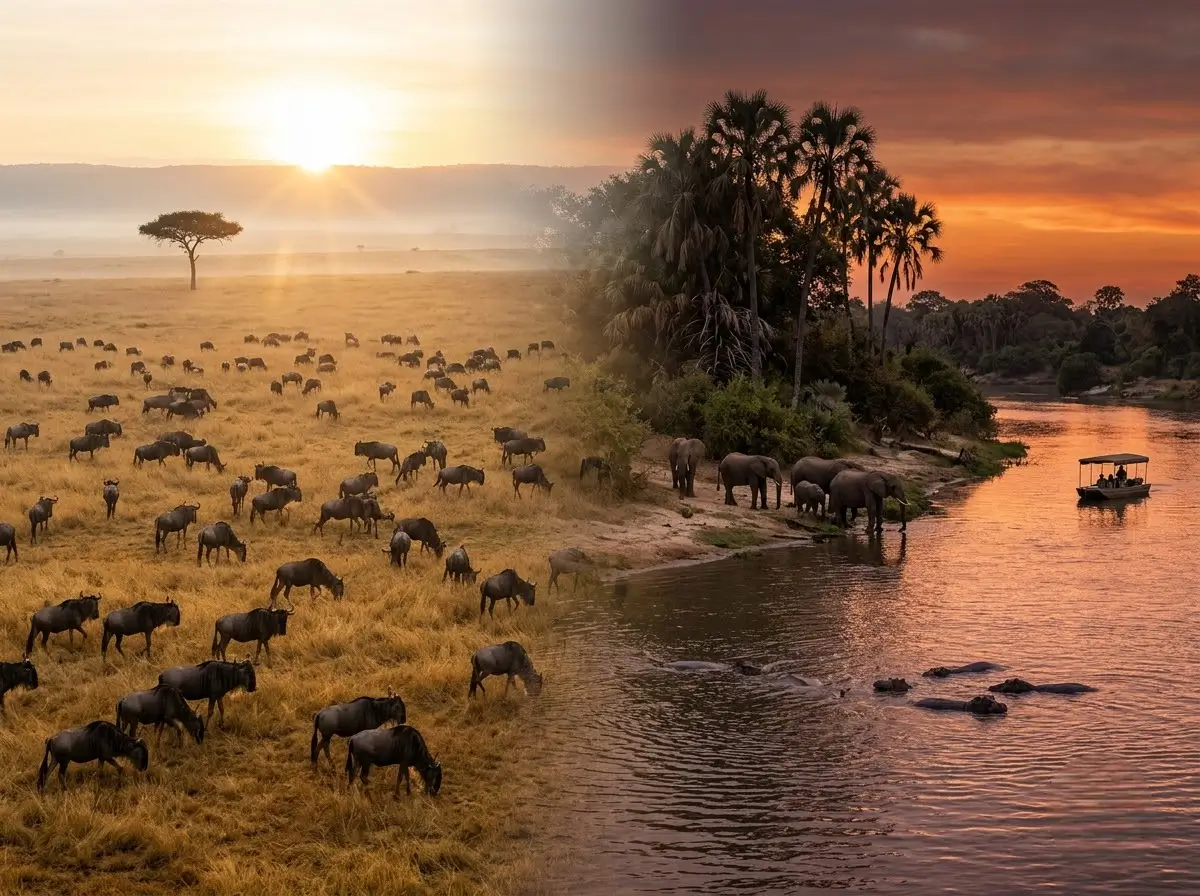
Every park on the northern circuit gives you something different. The Serengeti plains are made for predators and the Great Migration. Ngorongoro Crater gives you a good chance at black rhino against a dramatic crater wall. Tarangire has huge elephant herds and ancient baobabs, while Lake Manyara is great for birdlife and flamingos. If you want a park-by-park breakdown, our guide to the best wildlife photography locations in Tanzania goes into more detail on what to shoot where and when.
The truth is that great safari photos come from time in the field. The more hours you spend watching animals with a guide who knows their habits, the more chances you get at the shot you’ll actually print and hang on the wall.
Plan Your Tanzania Safari Photography Trip With Kilimora
Our Arusha-based guides know where the light falls, where the cats rest and when the herds move. Tell us what you want to photograph and how many days you have, and we’ll build a safari around it, with flexible game drive timing and vehicles set up for shooting.